Puffin - Free Pattern
It may surprise you, but there are puffins in the Pacific Northwest! I made this pattern based on the Atlantic puffin because they're easier to recognize, but we have the tufted puffin native to us here! Do you have any puffins in your area?Puffin
1. 6 mc (6)
2. Inc x6 (12)
3. (Sc, inc)x6 (18)
4. (Sc 2, Inc)x6 (24)
5. Sc around (24)
6. Sc 4, [sc 3], sc 8, [sc 3], sc 6 (24)
7. Sc 3 [sc 5] sc 6, [sc 5], sc 5 (24)
8. Sc 2 [sc 7] sc 4 [sc 7] sc 4 (24)
9. Sc 3 [sc 8] sc 2 [sc 8] sc 4 (24)
10. Sc 3 [sc 8] sc 2 [sc 8] sc 4 (24)
11. Sc 2, dec [sc 2, dec, sc] sc, dec, sc [sc, dec, sc 2] dec, sc 2, dec (18)
12. (Sc, dec)x6 (12) stuff the head
13-14. Sc around (12) (do 2 times)
15. (Sc, inc)x6 (18)
16-17. Sc around (18) (do 2 times)
18. (Sc 2, Inc)x6 (24)
19-20. Sc around (24) (do 2 times)
21. BLO (sc 2, dec)x6 (18)
22. (Sc, dec)x6 (12)
23. (Dec)x6 (6)
Fasten off and close the hole.
1. 4 mc (4)
2. (Sc, inc)x2 (6)
3. (Sc, Inc)x3 (9)
4. (Sc 2, Inc)x3 (12)
Fasten off, leaving a tail for sewing.
Chain 6
Skip the first chain from the hook, then sc 4 along the chain, (sc 3 in the last chain), sc 4 along the other side of the chain.
Fasten off, leaving a tail for sewing.
Chain 6
1. Skip the first chain, sc 5 (5)
2. Chain 1 and turn, dec, sc, dec (3)
3. Dec with all 3 stitches together (1)
Chain 10 to make the leg.
Fasten off, leaving a tail for sewing.
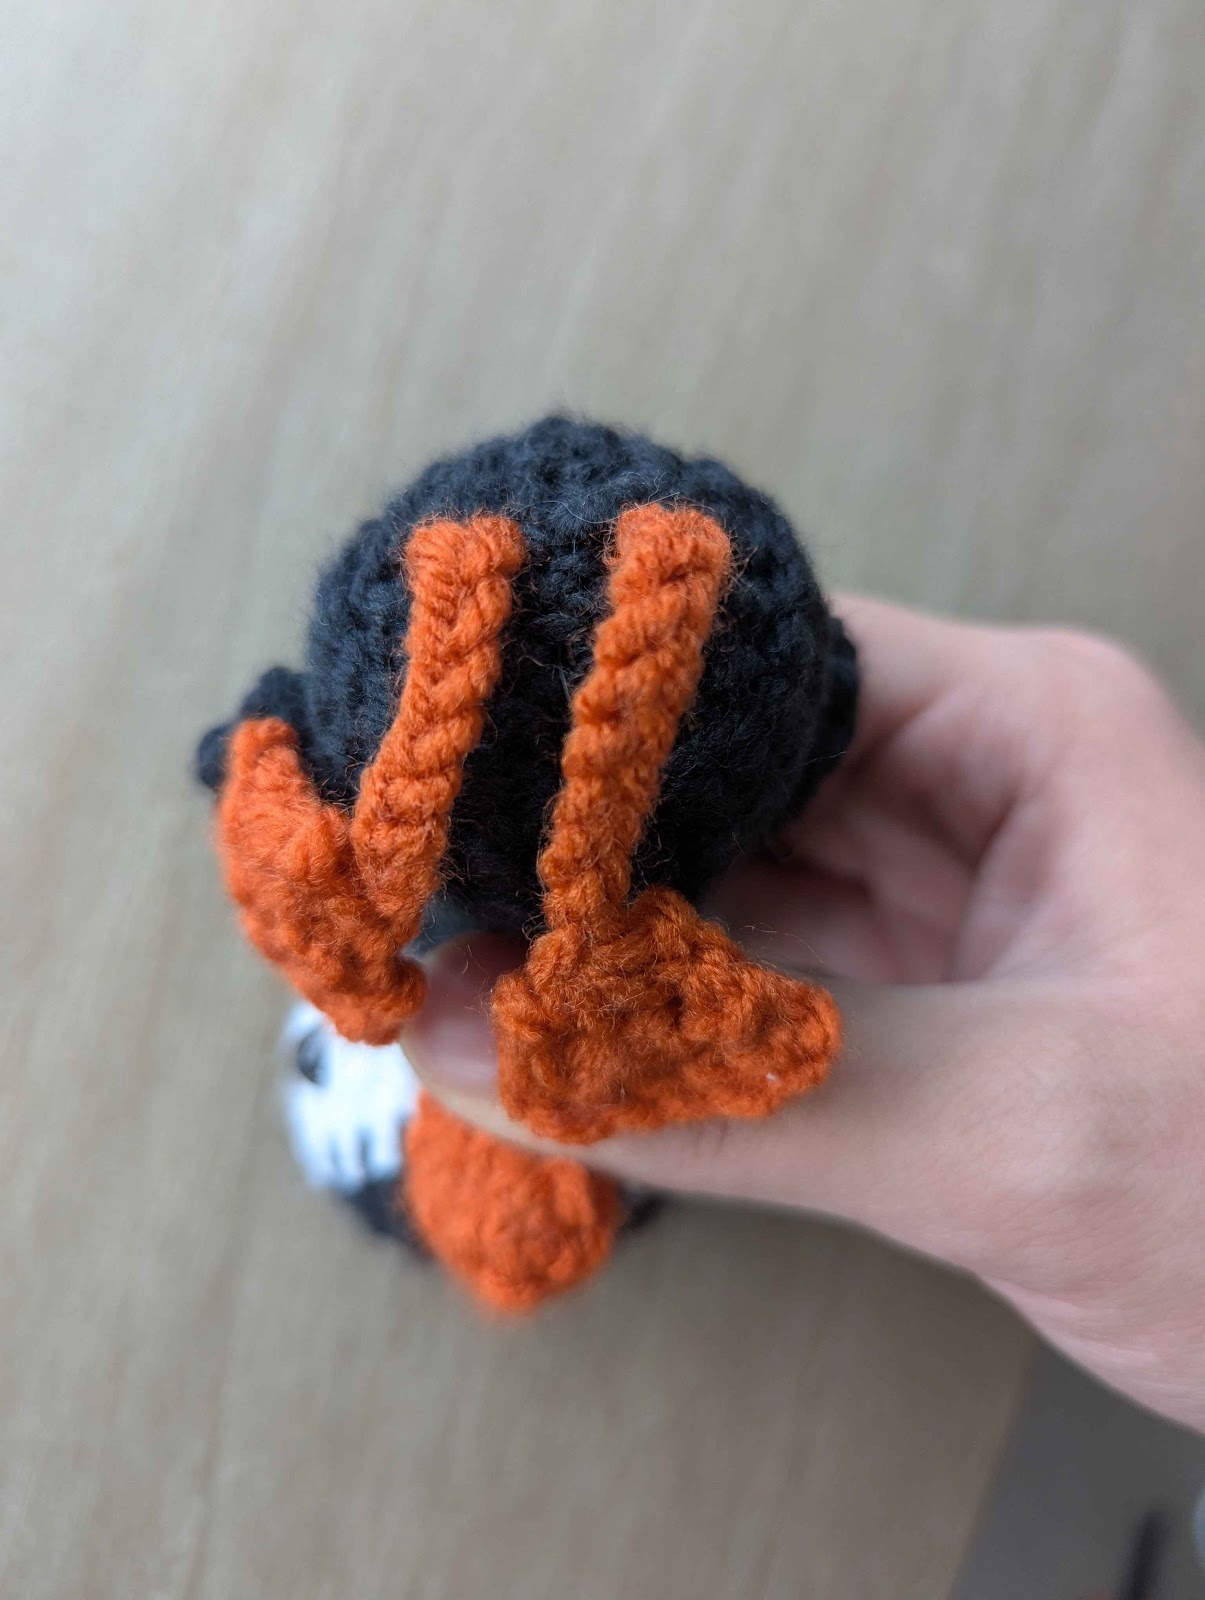
Sew the wings to the sides, around where the body starts to get wider.Sew the legs to the bottom of the body. I put them forwards just a bit so they look nicer when he sits.
I'd love it if you sent pictures of your finished project! Please credit Bippy Buddies on any online posts that used this pattern.
Do not copy or redistribute this pattern without credit to Bippy Buddies. You may sell finished products as long as credit is given.
If you have any questions, please leave a comment!
Puffin
Materials
- Yarn (I used Loops & Threads Soft Classic Solid yarn)
- Crochet hook (I used a 4.5mm hook)
- Safety eyes
- Tapestry needle
- Stuffing
- Stitch marker
- Scissors
Abbreviations (US terms)
- ch - chain
- sc - single crochet
- inc - increase
- dec - decrease
- hdc - half double crochet
- dc - double crochet
- tc - triple crochet
- ss - slip stitch
- FLO - front loops only
- BLO - back loops only
- mc - magic circle
- (...) - repeat the part in parenthesis specified number of time
- (#) - number of stitches after finishing the round
Finished Size
6 inches, including the feet. May be different for everyone based on yarn thickness, hook size, and tension.
Pattern Instructions
Head:
Using black and [white], starting with black1. 6 mc (6)
2. Inc x6 (12)
3. (Sc, inc)x6 (18)
4. (Sc 2, Inc)x6 (24)
5. Sc around (24)
6. Sc 4, [sc 3], sc 8, [sc 3], sc 6 (24)
7. Sc 3 [sc 5] sc 6, [sc 5], sc 5 (24)
8. Sc 2 [sc 7] sc 4 [sc 7] sc 4 (24)
9. Sc 3 [sc 8] sc 2 [sc 8] sc 4 (24)
10. Sc 3 [sc 8] sc 2 [sc 8] sc 4 (24)
11. Sc 2, dec [sc 2, dec, sc] sc, dec, sc [sc, dec, sc 2] dec, sc 2, dec (18)
12. (Sc, dec)x6 (12) stuff the head
13-14. Sc around (12) (do 2 times)
15. (Sc, inc)x6 (18)
16-17. Sc around (18) (do 2 times)
18. (Sc 2, Inc)x6 (24)
19-20. Sc around (24) (do 2 times)
21. BLO (sc 2, dec)x6 (18)
22. (Sc, dec)x6 (12)
23. (Dec)x6 (6)
Fasten off and close the hole.
Beak:
In orange1. 4 mc (4)
2. (Sc, inc)x2 (6)
3. (Sc, Inc)x3 (9)
4. (Sc 2, Inc)x3 (12)
Fasten off, leaving a tail for sewing.
Wings (make 2):
In blackChain 6
Skip the first chain from the hook, then sc 4 along the chain, (sc 3 in the last chain), sc 4 along the other side of the chain.
Fasten off, leaving a tail for sewing.
Legs (make 2):
In orangeChain 6
1. Skip the first chain, sc 5 (5)
2. Chain 1 and turn, dec, sc, dec (3)
3. Dec with all 3 stitches together (1)
Chain 10 to make the leg.
Fasten off, leaving a tail for sewing.
Attaching Parts
Sew the beak to the head. It should be mostly flattened into a thin oval shape.
Sew the wings to the sides, around where the body starts to get wider.Sew the legs to the bottom of the body. I put them forwards just a bit so they look nicer when he sits.
I'd love it if you sent pictures of your finished project! Please credit Bippy Buddies on any online posts that used this pattern.
Do not copy or redistribute this pattern without credit to Bippy Buddies. You may sell finished products as long as credit is given.
If you have any questions, please leave a comment!


Comments
Post a Comment