[Little Fingers Series] Fox - Free Crochet Pattern

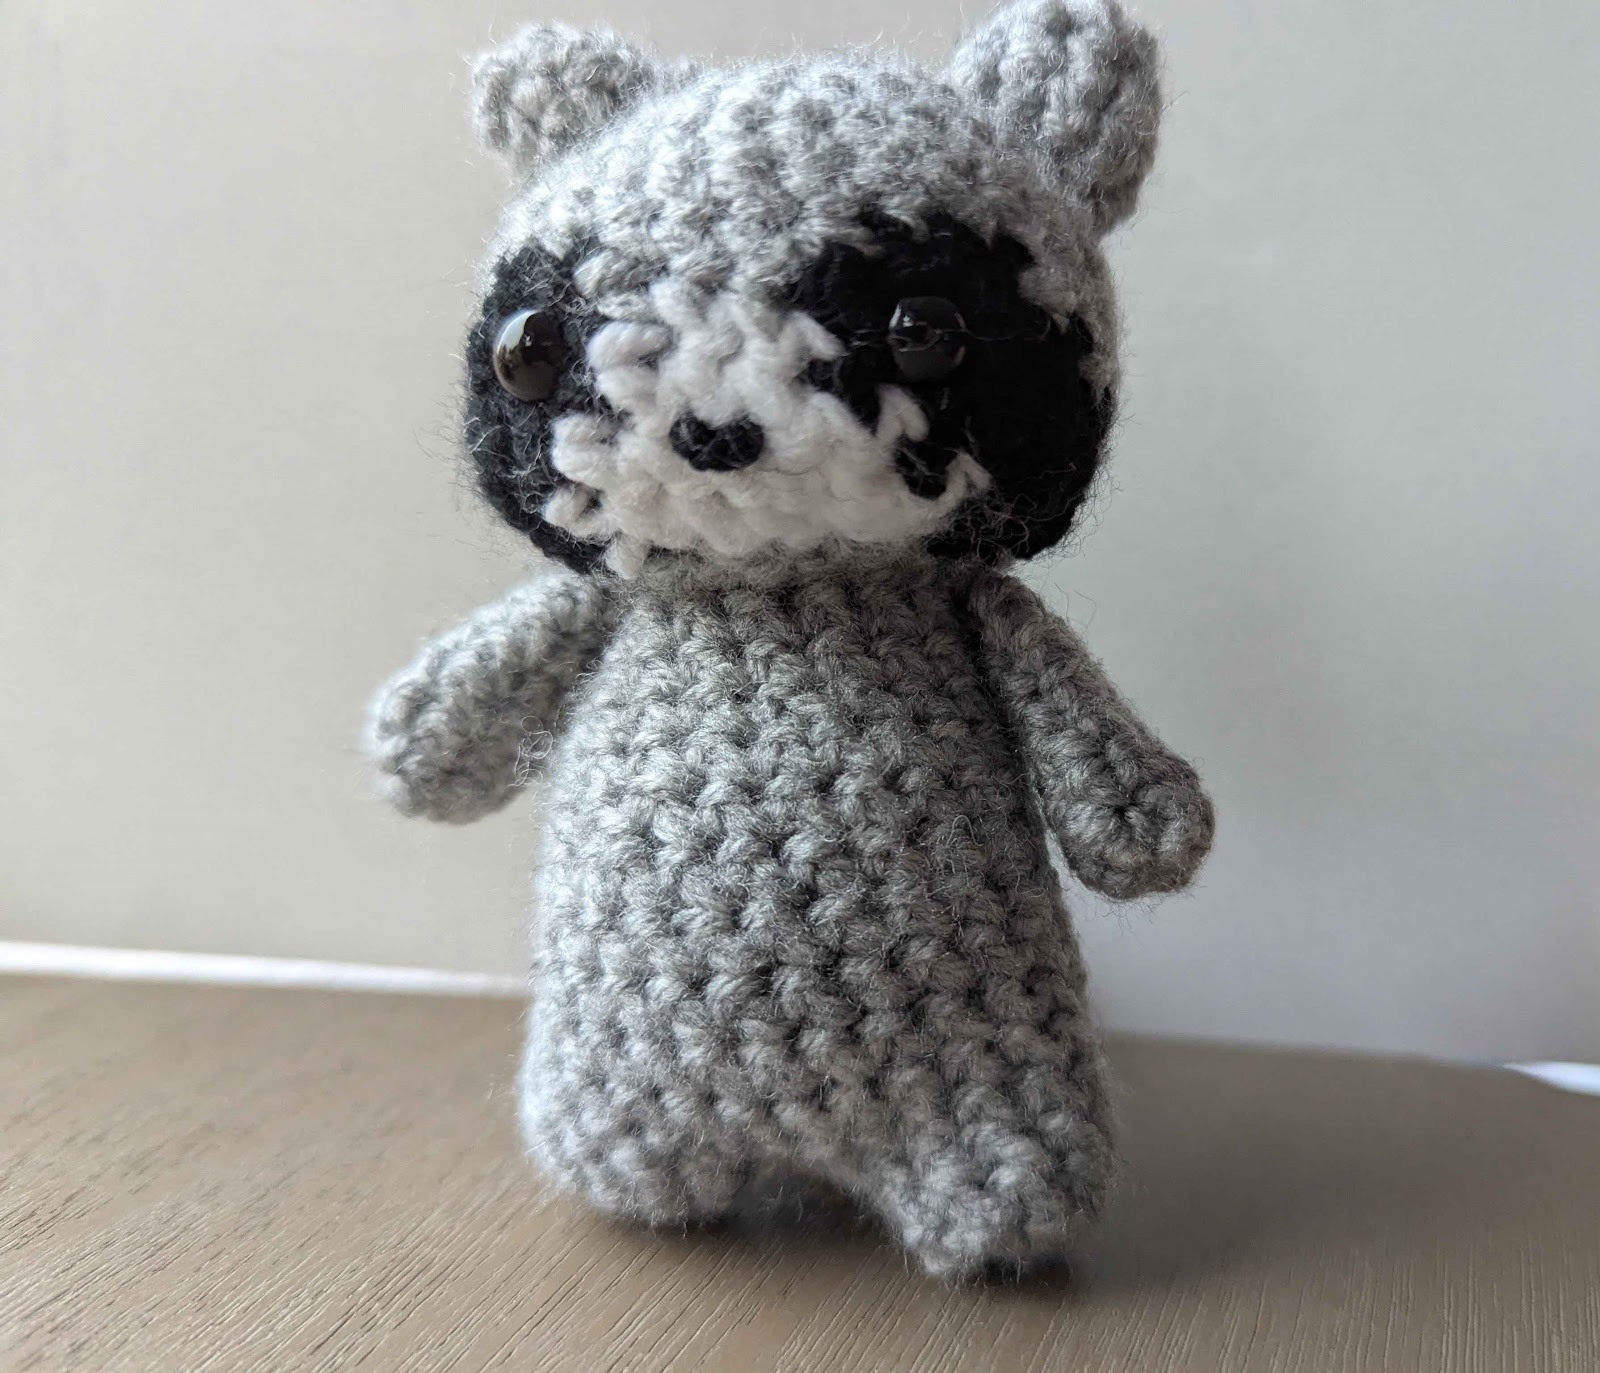
This pattern is very versatile and easy to alter into any 4-legged animal you'd like! I've included instructions for making it into a fox, but you can do whatever you'd like. Maybe a cat, or a husky? The little fingers on the paws can be a little tricky to make, but they're the cutest part and well worth the effort!
Fox with Little Fingers
Materials
- Yarn (I used Loops & Threads Soft Classic yarn, weight 4)
- 3.5mm crochet hook
- Safety eyes (optional)
- Tapestry needle
- Stuffing
- Stitch marker
- Scissors
Abbreviations (US terms)
- ch - chain
- sc - single crochet
- inc - increase
- dec - decrease
- hdc - half double crochet
- dc - double crochet
- tc - triple crochet
- ss - slip stitch
- FLO - front loops only
- BLO - back loops only
- mc - magic circle
- (...) - repeat the part in parenthesis specified number of time
- (#) - number of stitches after finishing the round
Finished Size
Approximately 4.5 inches from nose to toes. Size may be different for everyone based on yarn thickness, hook size, and tension.
Pattern Instructions
Head:
1. 6 mc (6)2. Inc x6 (12)
3. (Sc 1, inc)x6 (18)
4. (Sc 2, inc)x6 (24)
5. (Sc 3, inc)x6 (30)
6. (Sc 4, inc)x6 (36)
7 - 11. Sc around (36) (5 times)
12. (Sc 4, dec)x6 (30)
13. (Sc3, dec)x6 (24)
14. (Sc 2, dec)x6 (18) start stuffing, add eyes between 7 and 8,
and nose between round 10 and 11.
15. (Sc 1, dec)x6 (12)
16. (Dec)x6 (6)
Fasten off and hide tail

Ears:
1. 4 mc (4)
2. Inc 4 (8)
3. (Sc 3, inc)x2 (10)
4. (Sc 4, inc)x2 (12)
Sc through both sides to close.
Fasten off and leave a tail for sewing.


Arms:
Start with brown
1. 6 mc (6)
2. Sc 1, in FLO sc 1, ([hdc then sl in the same stitch])x3 in both loops sc 1 (6)
3. Sc around, using back loops left behind from round 2 behind fingers. (6) Change to orange after round 3
4-5. Sc around twice.
Fasten off and leave tail for sewing.

Body:
Make in orange1. 6 mc
2. Inc 6 (12)
3. (Sc 1, inc)x6 (18)
4. (Sc 2, inc)x6 (24)
5 - 10. Sc around x6 (24)
11. (Sc 2, Dec)x6 (18)
12. Sc around x1 (18)
Fasten off and stuff, leave tail for sewing.

Legs:
Start with brown1. 6 mc (6)
2. (Sc 1, inc)x3 (9)
3 - 5. Sc around x3 (9) Change to orange after round 3
Fasten off, stuff, leave tail for sewing.

Tail
Start with white
1. 4 mc (4)
2. (Sc, inc)x2 (6)
3. (Sc 2, inc)x2 (8)
Change to orange
4. (Sc 2, inc)x2, sc 2 (10)
5. Sc around (10)
6. (Sc 2, inc)x3, sc 1 (13)
7. Sc around (13)
8. (Sc 1, dec)x4, sc 1 (9) start stuffing
9. (Sc 1, dec)x3 (6)
Fasten off, stuff, and leave a tail for sewing.

Attaching Parts
Sew ears to the top of the head on each side. I like to sew them on so they're slightly curved like a satellite dish.

Sew arms right next to the head, reaching out, and sew legs on either side of the bum.
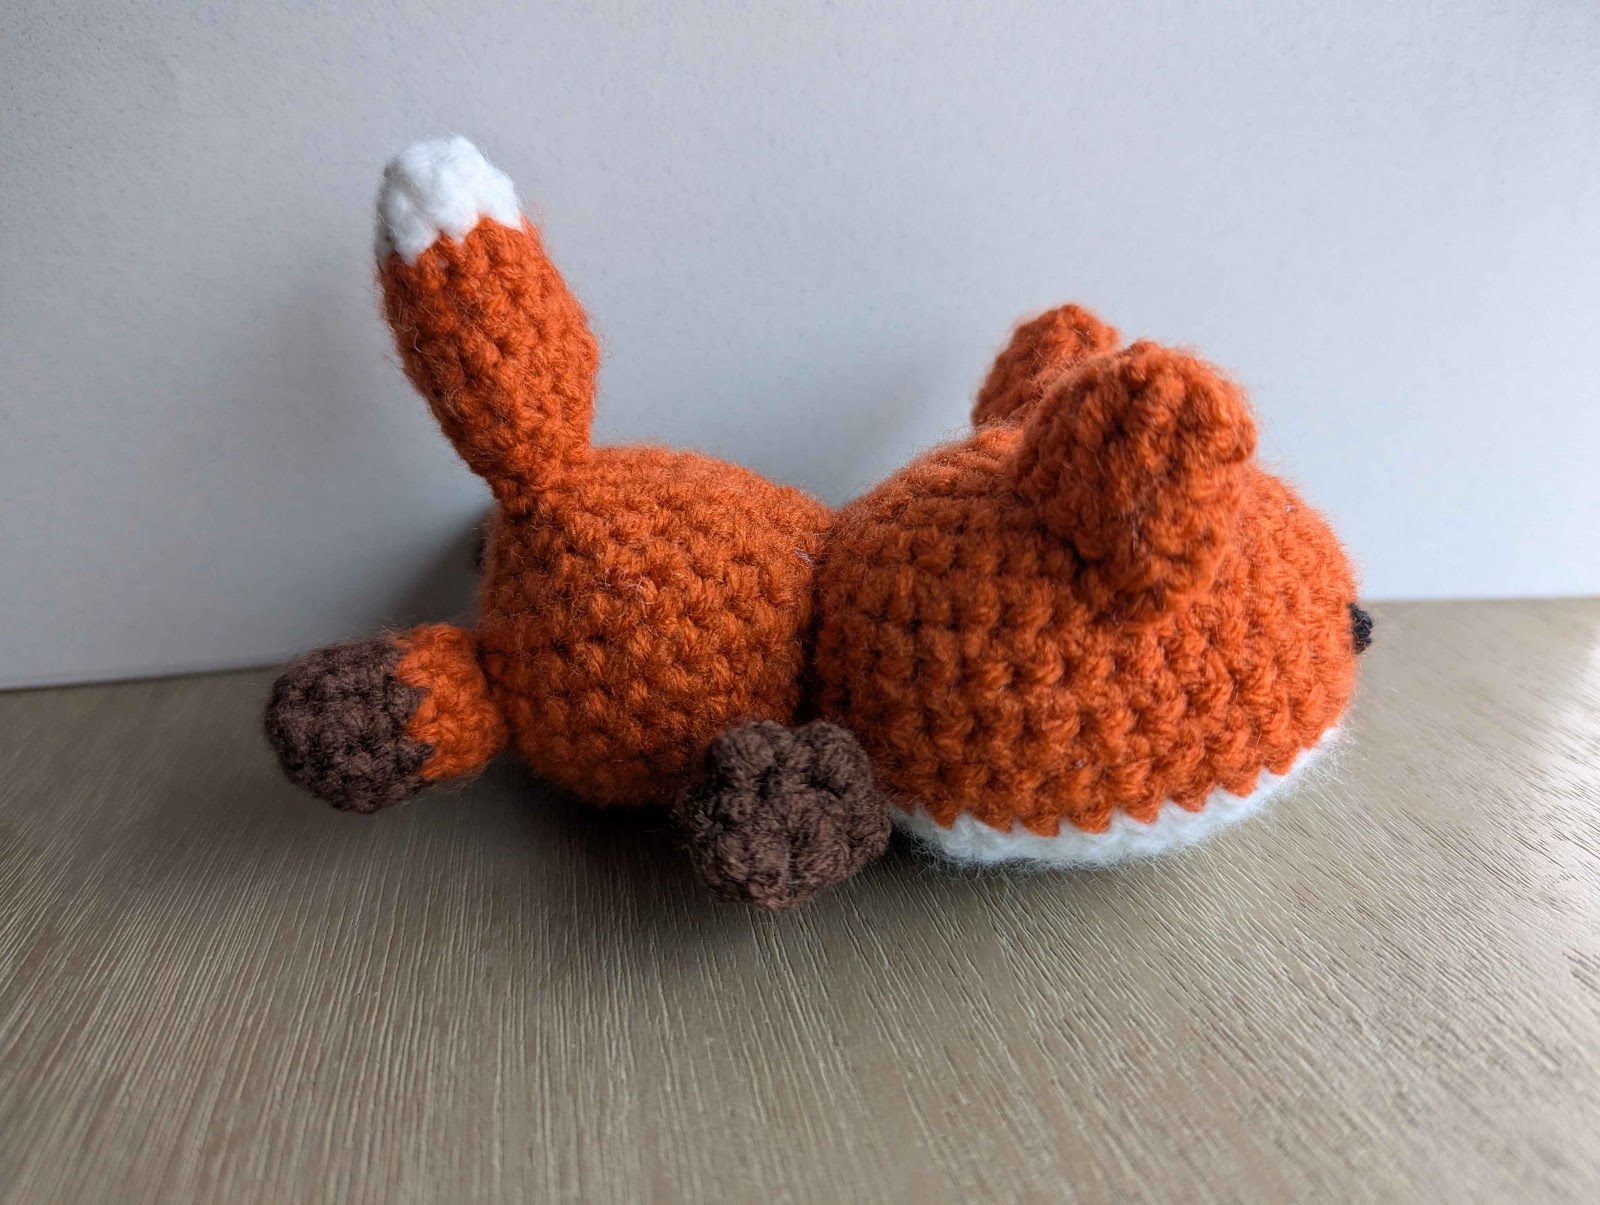

Sew the tail right in between the legs, higher up on the top of the bum.

I'd love it if you sent pictures of your finished project! Please credit Bippy Buddies on any online posts that used this pattern.
Do not copy or redistribute this pattern without credit to Bippy Buddies. You may sell finished products as long as credit is given.
If you have any questions, please leave a comment!


Comments
Post a Comment